
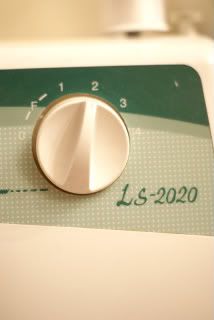
Okay this first knob that to the most right on the top of (my) machine is the Stitch Length knob...the higher the number you set it on, the longer your stitches are, and if you set it up to 4 (highest number on mine) that is known as a baste stitch (a loose temporary stitch used to hold two pieces of fabric together.) For a basic stitch I usually keep mine set on about 2.

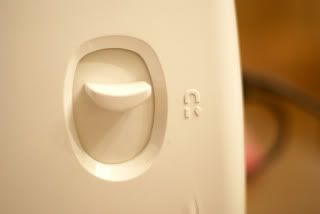
This little baby sets the position of your needle when sewing. Left (L), Middle (M) and Right (R). Normally I keep mine on Middle but if you are needing to stay very close to an edge of a seam you may want to set your position to left or right to aid in that.
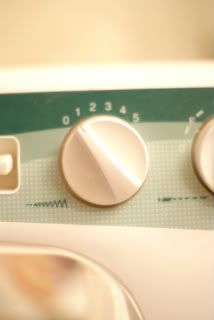
This is the stitch width knob, it determines how wide a stitch is. Lower numbers are for straight stitching and higher numbers will make your "zig-zag" stitch.
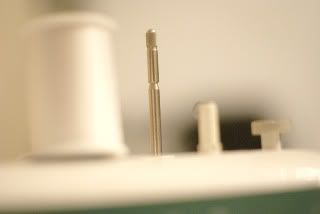
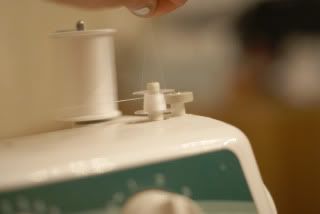
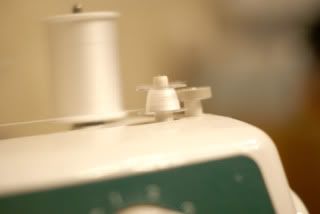
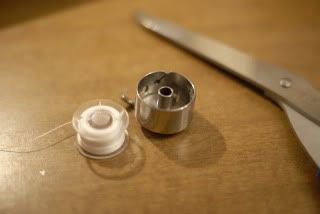
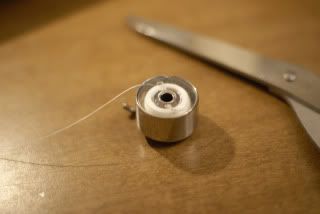
This silver device is used to hold the thread spool when you are winding a bobbin. You place the thread spool on it, run your thread through the thread guide and around the 'button' on top of the thread guide and through one of the top holes on the bobbin spool. You have to then put the bobbin spool on the bobbin winder and push it over to the right (this is important because if you do not do this your needle will run when the foot pedal is pressed. Hold the excess string as you push your foot pedal and let the bobbin fill until it "kicks-off" or stops itself. Here is a few photos showing the process of winding a bobbin:
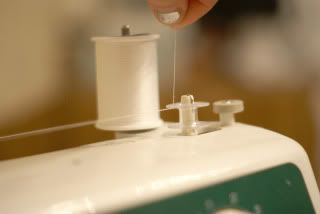
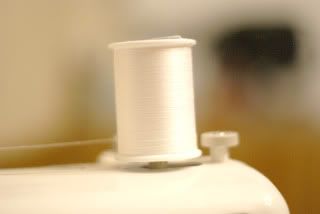
When you are not winding a bobbin you will keep that bobbin winder pushed to the left and you thread will be on it while sewing. Your thread goes through the thread guide but NOT around the button on top (like when winding a bobbin). You then run the thread down the right-most "opening" (or crack as it looks like) and around the tension control knob:
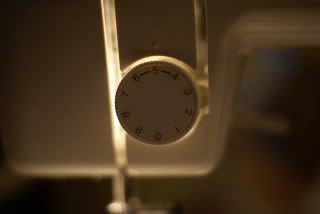
Five is a desirable number to keep it on for basic stitching...but some projects may call for a higher or lower tension. (Hint: If your thread is getting tangled above or below the fabric, the tension needs to be adjusted..if it's tangled above the tension is too high and if it's getting tangled below the tension is too low.) But like I said, 5 is normally a good number.
After you get your bobbin wound you need to put it in the bobbin case (that silver thing on the right)
This is what it looks like when you place it in. Simple right?
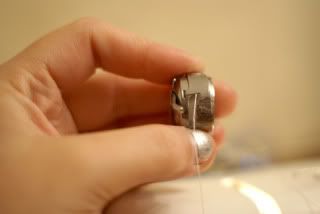
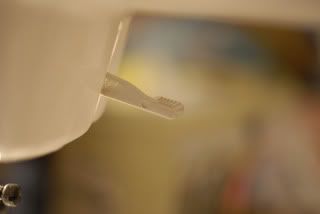
Now you run the excess thread up through that spot where the metal has a break in it and through the hole in the side of the bobbin case, like in the photo above.
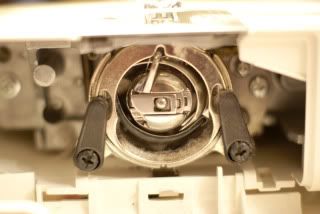
Then you will put the bobbin in the Shuttle Hook (That round piece of metal in the compartment under your main sewing area.
Now this thing is the reverse sewing button. You use it when you start sewing and when you stop. You make about 3-4 stitches forward and hold DOWN this button while simulatneously pushing the foot pedal and it stitches backwards to lock the stitching in place and keep the stitches from coming loose.
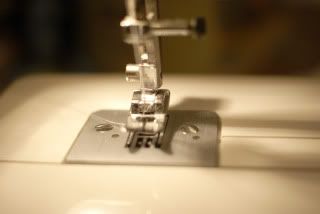
And this is the Presser Foot Lever. While not sewing you have it up, keeping the foot off the needle plate and feed dogs (the needle plate is that silver square that is under the presser foot and the Feed Dogs are those little "teeth-like" things that hop up and down and feed your fabric through as you sew.
This this is the all-important Presser Foot. There are different types of these depending on what you are doing. This is a sort of 'universal' foot which usually comes with your machine when you purchase it. Sometimes there is also a zipper foot included which aids in installing a zipper. There is also other various ones such as a darning foot which is see-through and helps with free motion quilting and embroidering.
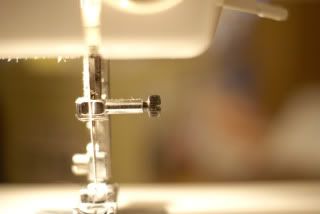
Okay that little black screw in this photo is what you loosen to remove and change out needles (I use a coin to do it). But you need to have a variety of needles available because you need to change your needles with your projects and types of fabrics. For example a needle that would be used to sew through bluejean material may not be the best choice to sew silk with, see what I'm saying? You need various sizes.
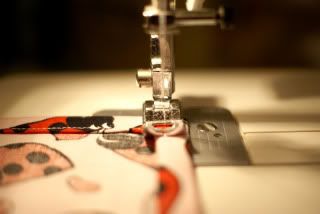
This is the presser foot in action, lowered onto the fabric and ready to sew. Make sure you have about 5-7 inches of "extra" thread from your needle and from the bobbin below hanging out so that your needle doesn't become unthreaded when you start your first stitch. (*Note-Once you have your needle threaded you have to get your bobbin string from the compartment below, to do this there is a wheel on the side of all machines called a hand wheel you need to turn that wheel counter clockwise until the needle has lowered into the compartment below and resurfaced. You will then see another string emerge from the below compartment (that would be your bobbin string). Pull that out and place them towards "the back" away from you!)
Oh and these pins are a MUST for anyone who sews...(and an iron doesn't hurt either) if you are looking to get that perfect seam with crisp straight lines!
0 Lovely Reader(s) Said:
Post a Comment