
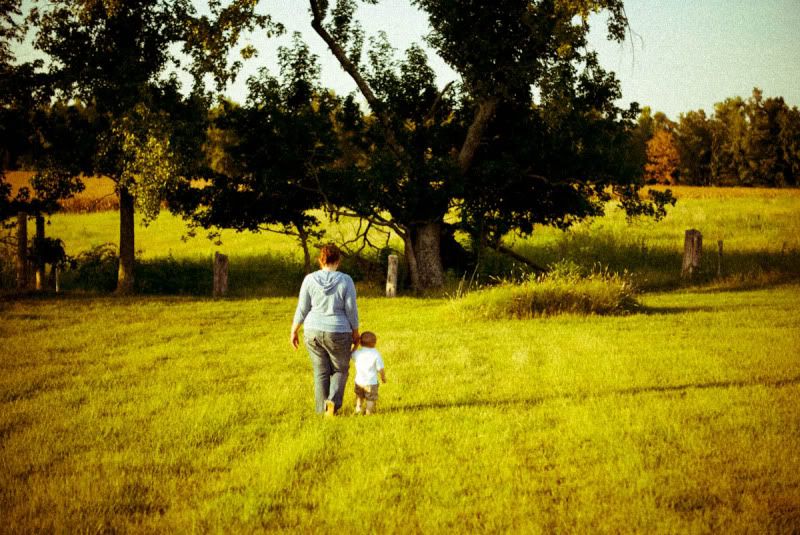
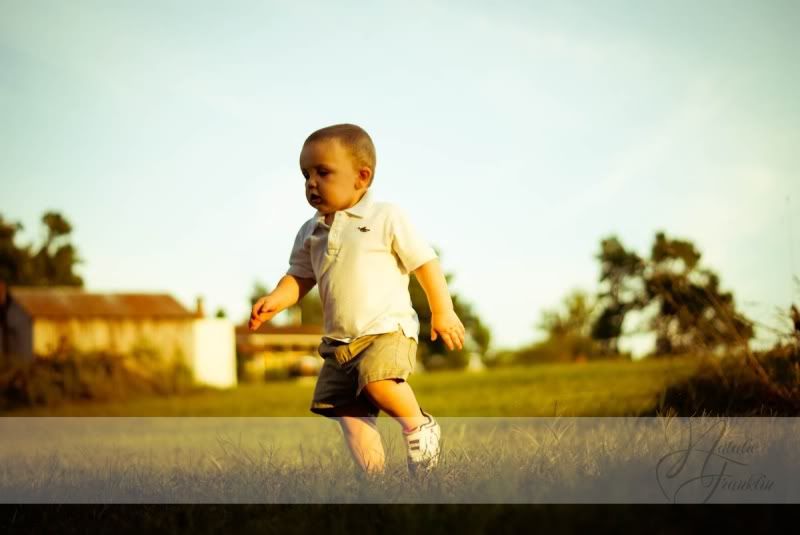
Well now I'm going to tell you! It's not hard, I promise!
First of all, this edit was achieved in Adobe Lightroom 3. (*Boo! But we don't have Lightroom 3!) Well there are similar things you can do in Photoshop to mimic these results! YAY! Anywho, this is a preset, you know, kinda like actions in Photoshop. You'll need to know the name of the preset in order to use it of course! Well this is one of the default Lightroom Presets that come with the program when you buy it! There's actually two versions of it, they're called "Yesteryear 1" and "Yesteryear 2". They should be in the folder to the left of your image when you're in "Developer" mode (Editing Mode) under the folder named "Lightroom Presets". Just simply click the preset, it will run and then you will *probably want to adjust some of your basic things over on the right side of your image (like the exposure, brightness, saturations) the possibilities are endless as to the different looks you can achieve by adjusting things.
Okay now I have only worked in Photoshop Elements 7 as far as the Photoshops go but the things I can tell you to try and work with to get something similar to this is to do a "Photo Filter" and select "Warm" and turn the intensity up until it gets to the 'yellow-yness- of your liking..or alternatively you can add a new layer filled with a color (yellow if you're going for this look) and then choose "overlay" or "soft light" in order to let your image shine through your yellow layer and adjust opacity to liking...I'm no expert obviously and everything I have learned is self-taught or googled but I'm glad to tell what I know when I'm asked! So I hope that this gets those creative juices flowing and maybe you'll find some great steps and tricks on your own to get to that great yellow-y "yesteryear" photo! Happy Shooting!
0 Lovely Reader(s) Said:
Post a Comment